

The Server Description setting in 7 Days to Die allows server administrators to customize the information displayed about their server, helping players understand what to expect before joining. This is an important part of managing your multiplayer community, as a well-written server description can communicate your server's rules, gameplay style, unique features, and other important details to potential players. Whether you are hosting a private server for friends, running a public survival community, or managing a dedicated server with customized gameplay settings, updating the server description allows you to present your server in a more informative and appealing way. You can use this field to introduce your community, highlight special gameplay features, share server rules, mention supported modifications, or provide other relevant information that players should know before connecting. Keeping your server description accurate and up to date is also useful when making changes to your server's configuration or introducing new features. For example, if you switch from a cooperative survival experience to a competitive PvP environment, you can update the description to inform players about the new gameplay rules. This helps set clear expectations, improves communication with your community, and makes your server easier for players to identify in the server browser. In this guide, we will walk you through the process of editing the Server Description on your 7 Days to Die server using the Citadel Servers Game Panel. You will learn how to locate the appropriate configuration file, modify the server description according to your preferences, and save your changes correctly so that your updated information can be displayed to players.
Editing the Message of the Day (MOTD)
1. Log in to your Game Control Panel.
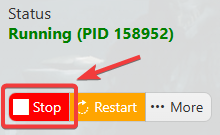
2. Before making any modifications, stop the server from running by clicking the Stop button.
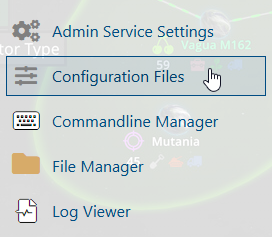
3. Navigate to Configuration Files.
4. In the Configuration Files section, locate the serverconfigmain.xml file and click Text Editor to open and edit the file.

5. Locate the <property name="ServerDescription" line and update the quoted text next to the value= attribute with your preferred server description.
To add colors to your text, insert the appropriate color code in brackets at the position where you want the color formatting to begin.

(Note: You can find a list of available color codes using the HTML Color Picker)
6. After editing, click the Save button to apply the changes.

