

A whitelist is a useful 7 Days to Die feature that lets server owners control who can access their multiplayer server. By enabling this feature, you can restrict server access to approved players, ensuring that only individuals whose Steam IDs have been added to the whitelist can join. This is particularly beneficial for private communities, friends-only servers, and groups that want to maintain a controlled multiplayer environment. Configuring a whitelist helps prevent unauthorized players from joining your server, reducing the likelihood of unwanted interruptions, disruptive behavior, and potential griefing. It also gives server administrators greater control over player access, allowing them to decide who can participate in their world. Depending on your server's configuration, you can add or remove players from the whitelist as needed to accommodate new members or revoke access from players who are no longer permitted to join. In this guide, we will walk you through the process of setting up a whitelist on your 7 Days to Die server using the server configuration files. We will cover how to enable the whitelist, add authorized players using their Steam IDs, and manage the list to keep your server accessible only to the players you approve. By following these steps, you can create a more private, controlled multiplayer experience for your community.
Managing Authorized Players (Console)
1. Log in to your Game Control Panel.
2. Navigate to the Web Console tab.
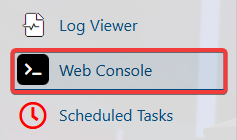
3. Enter the desired command into the console.
| Command | Description | Example |
whitelist list |
Displays the list of current players in the whitelist. | whitelist list |
whitelist add <Platform_PlatformID> |
Adds a player to the whitelist. | whitelist add Steam_<SteamID64> |
whitelist remove <Platform_PlatformID> |
Removes a player from the whitelist. | whitelist remove EOS_<EOSID> |
Managing Authorized Players (Config)
1. Log in to your Game Control Panel.
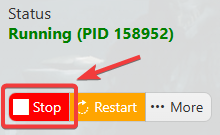
2. Before making any modifications, stop the server from running by clicking the Stop button.
3. Navigate to Configuration Files.
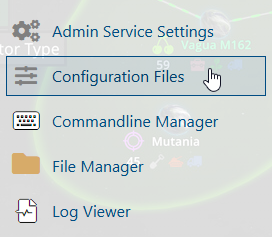
4. In the Configuration Files section, locate the serveradmincustom.xml file and click Text Editor to open and edit the file.

5. Within the <whitelist> tags, add the following entry on a new line to specify an authorized player: <user platform="Platform"

6. After editing, click the Save button to apply the changes.

